Showing posts with label DIY. Show all posts

Wednesday, February 29, 2012

Bib ~ DIY
northwest arkansas photographer

Here is my first DIY project for February. It came about when I realized
that I didn't have enough bibs and couldn't find any I really liked out
shopping. I had some left over fabric remnants from making burp cloths
for Owen and all I had to buy was the plush cloth for the backing and
some velcro.

Sorry for not documenting this, I finished them before realizing I could
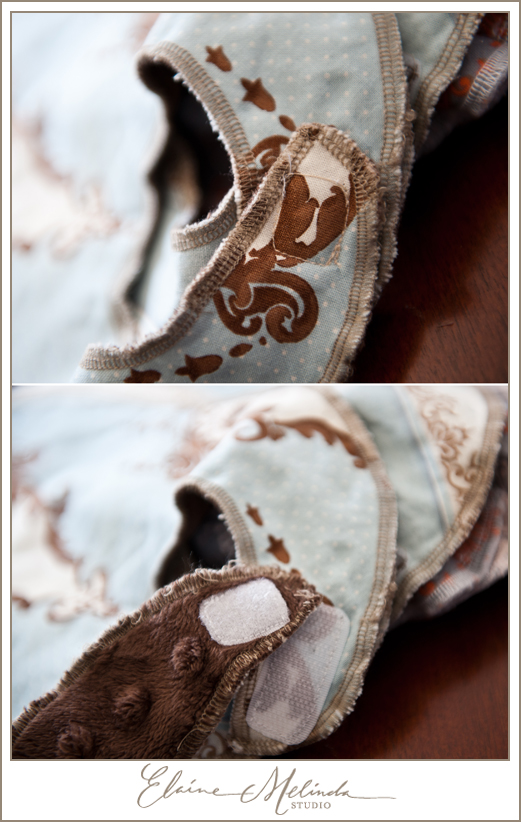
blog the process. I copied the pattern from a bib I already had. So, these
are all after shots and they have even been washed and warn several times
already.
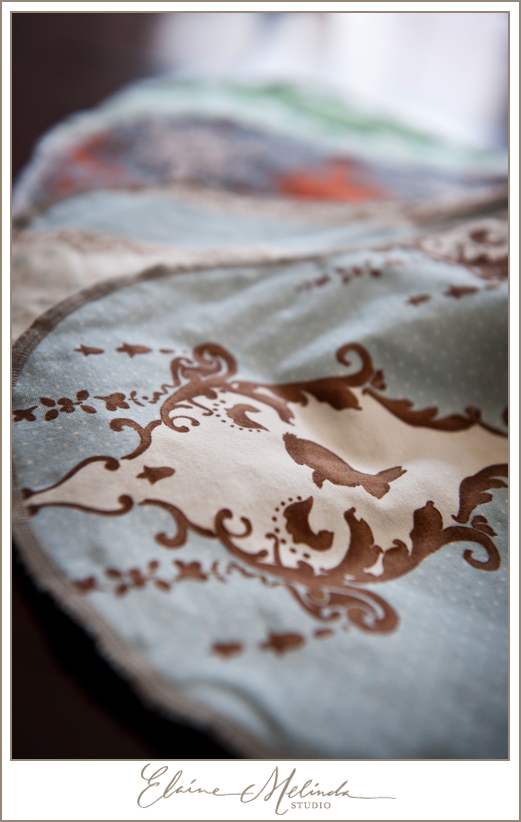


I recommend getting fabric with lots of pattern and colors to hide all the
stains they will surely get. I'm finding that carrot stains pretty bad, next
to banana which is the absolute worst! I got the dot plush at Hobby
Lobby on sale, I think I spent $3 and got 1/3 yard of each white and
brown.
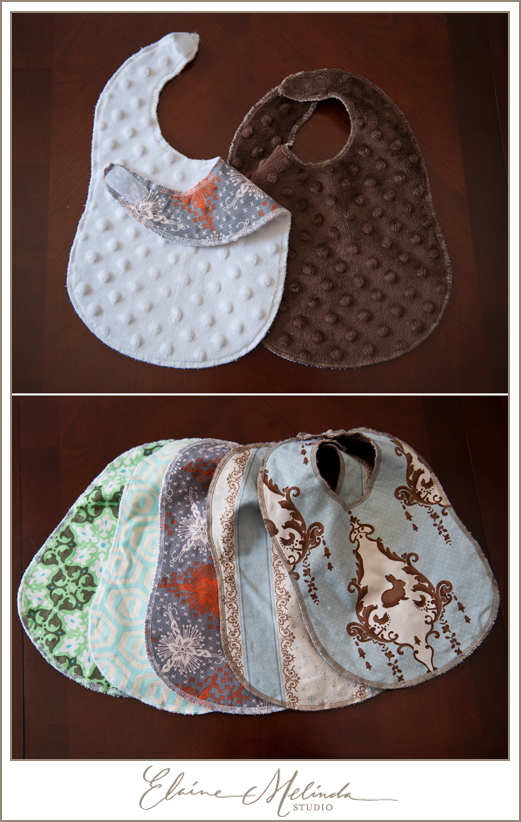

I overlocked the edges because I couldn't be bothered to stitch, then top-
stitch the edges. I knew this way would be the fastest and easiest. Then
I just topstitched the velcro or hook and loop tape to back of the bib.
Next time I'll get the flat version. The regular velcro/hook and loop gets
caught on the overlock stitching, so I have to be sure an connect them
before the go into the wash.


Hope you like!
Bachelorette Sash ~ DIY
northwest arkansas photographer


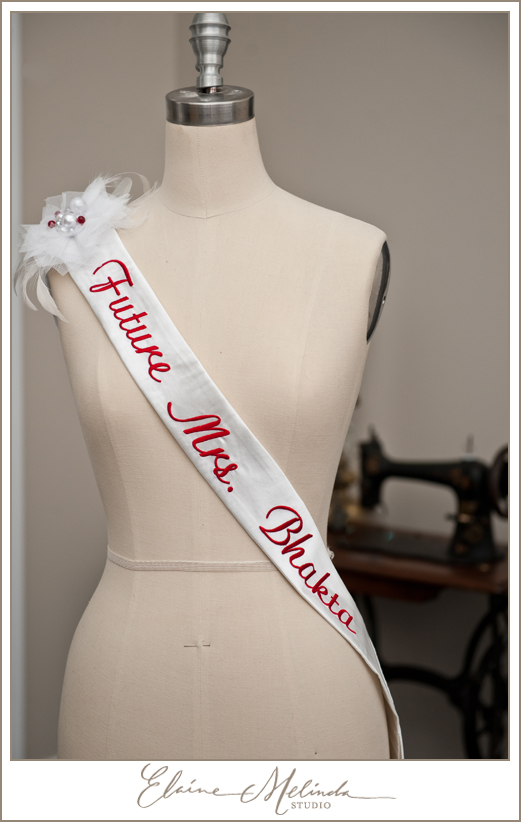
So, my best friend is getting Married! I'm extremely excited for her, but
due to my new station in life (breastfeeding momma) I'm wasn't able to
attend the festivities in Vegas last weekend!

When Aimee (the festivity coordinator) asked me if there was any way I
wanted to contribute to the weekend even tho I could not attend I asked
if it would be okay if I could make the sash. She said "Sure".

So, here you have it. I contacted my friend Regan at Sewing~a~Seed to
do the embroidery for me, she did a fab job and got it back to me
super fast which was great because I'm a horrible procrastinator.


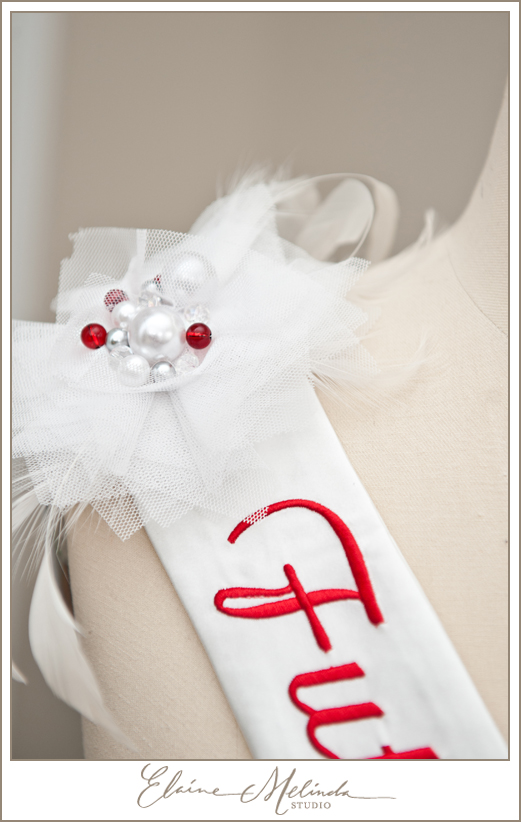
I picked up this feather hair piece, pin thing in Hoppy Lobby's wedding
section and added some beads to it and pinned it to the shoulder of the
sash. I sewed the beads onto the feathers, but I'm pretty sure a glue gun
would have done a better and faster job. I was a bit of a pain. I'm not sure
what the trick is to doing this part.


I had Regan add the wedding date to the back of the sash. One of my better
ideas.....


Love you Jaya! Can't wait for your wedding!

Wednesday, January 11, 2012

Headboard DIY Project & Resolutions

So, a couple of my resolutions this year are to blog more (of course) and to blog
a DIY project at least once a month. Here is our first DIY project blog post.

I've been wanting to make a fabric covered headboard for a long while now,
but with everything else we've done to our home, work, new baby etc. etc.
there just hasn't been much time for extra projects. So we made plans back in
the fall to make this headboard over the holidays.

I found this tutorial on Design Sponge.
Two bonuses to this tutorial - One. it has a pattern & Two. I LOVE the pattern!
The pattern is made for a queen so Adam made some adjustments for our King.

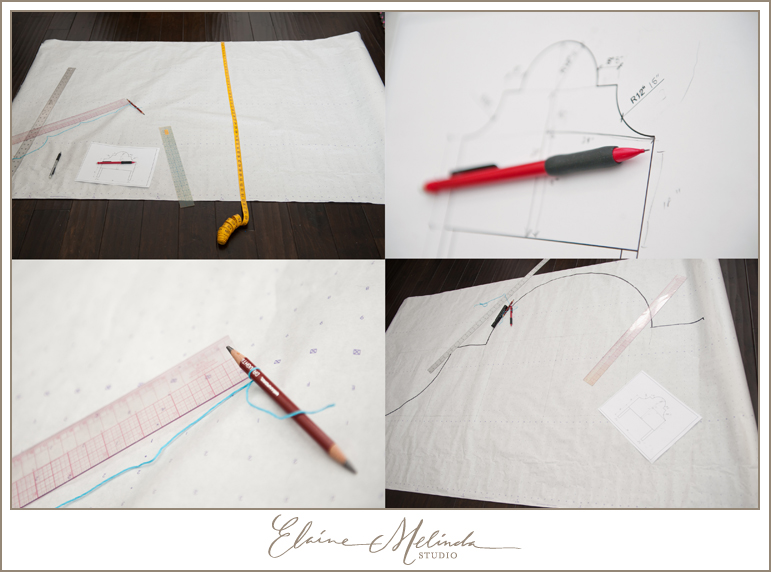
I drafted the pattern on some old pattern paper I had left over from college.
Then, I pinned it up behind our bed to make sure we liked the height & look.

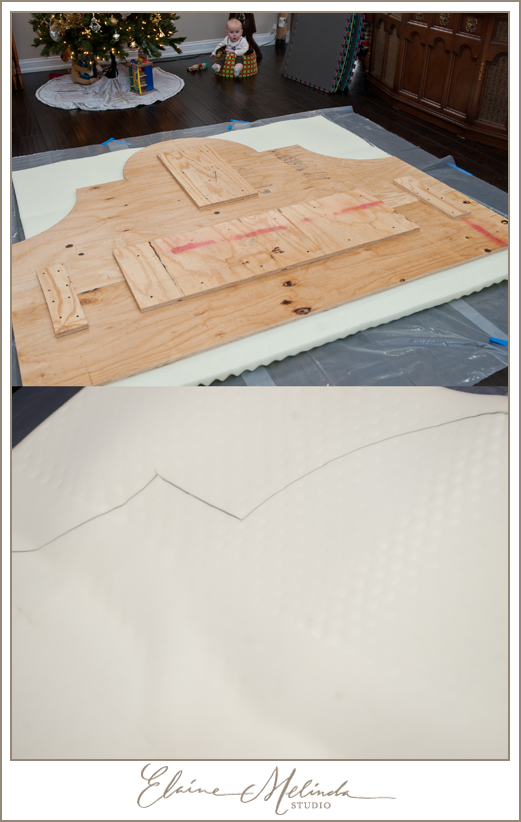
Adam then cut it out of 3/4" ply wood. I have to admit, I'm pretty lucky to have
such a handy husband who humors my crazy ideas.

We used the ply wood to trace out the foam. We used two layers of egg crate
mattress toppers for the padding. If we do this again (which is likely) we'll use
the 2" foam that you can get in 24" wide strips.
See if you can spy our little helper?

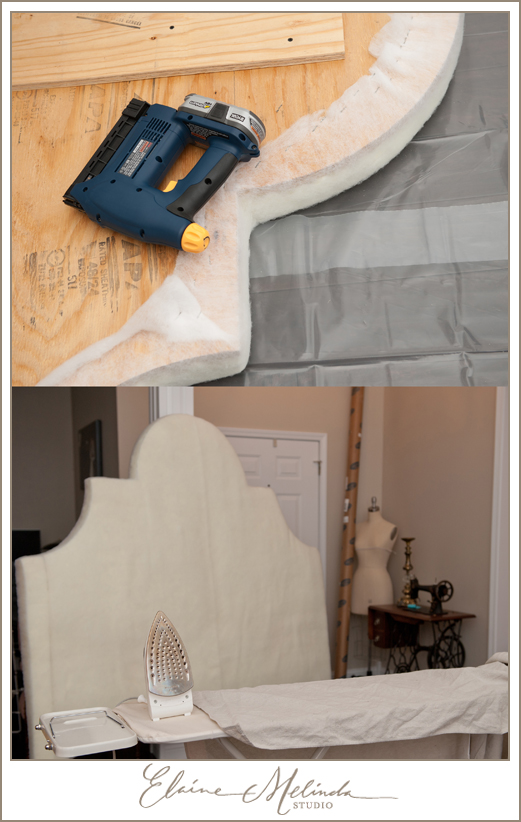
Next we stapled batting (the kind for quilting) around the frame.

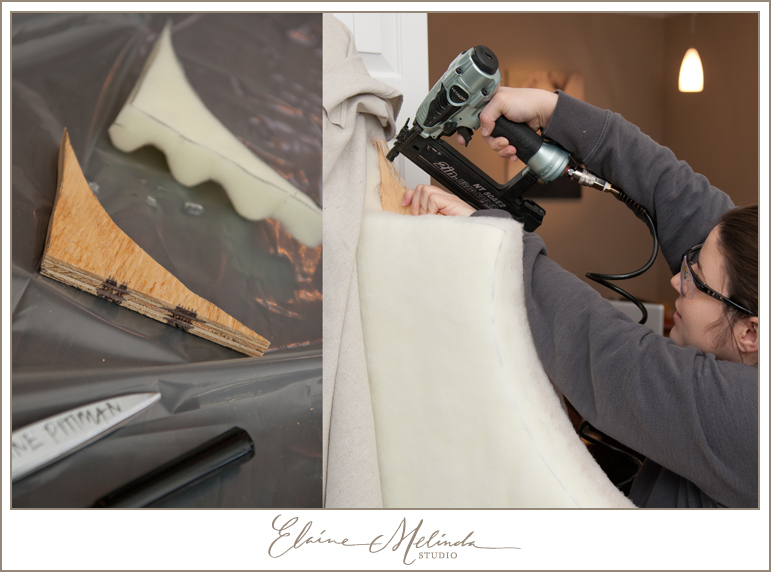
When we went to staple the canvas on we found that the angle at the top
was just too sharp. So, we added a little piece to smooth out the shape.
After adding the foam and batting we were able to get the canvas shaped
around easier.

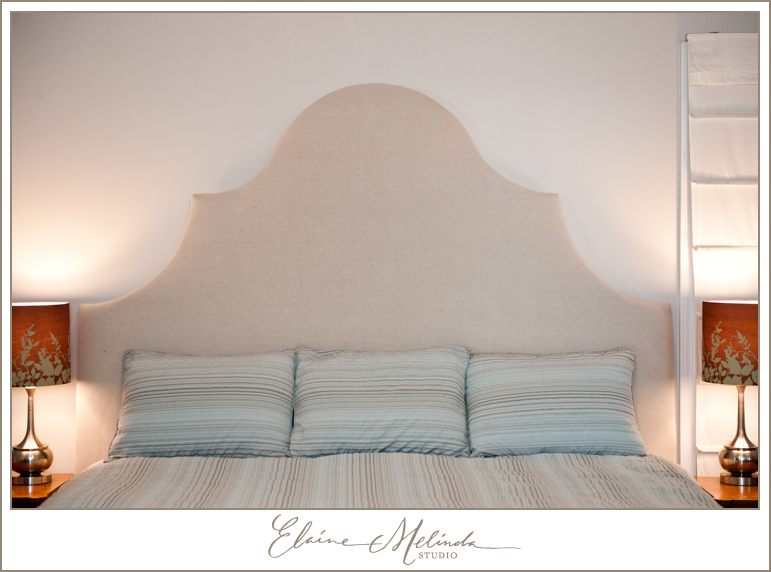
Finished Product!

Cost:
Plywood for the Frame (Lows or Home Deopt) - $44
Foam (JoAnn Fabrics with 40% off coupon) - $60
Batting (JoAnn Fabrics) - $15
Canvas (Walmart ~ I got a drop cloth from the paining section) - $20
Miscl - Staples, Nails etc - $10
Total: $149

Labels

Followers